

Maybe sanding, yes, even I knew this was going to be a gargantuan task, working upside down, the dust, just the thought of all of that work.... I googled, looked to see how others have solved this problem, mostly, they repainted. I especially enjoyed where the woodworking boards discussed some woman who wanted to refinish cedar beams, and all of the recommendations they made to persuade them to change their minds. I knew I was not alone. The green was dull, and not a part of my future color scheme.

I knew I wouldn't be doing this alone. After consulting with some local craftsmen, they opened my eyes to what an enormous task this would be. They said I had over $3,000 worth of cedar, all of the beams are solid, some of them 15 ft long. I didn't know, and it didn't stop there. They couldn't figure out how they were attached, they said something about not being responsible for the damage.


What to do, we decided to drop the ceiling in the living area, and the beams came down. These beams were bolted from the attic holding them in place, and no one wanted to take that project on. What they recommended was rebuilding the beams in the form of boxes, or faux beams. That way I could run the electrical wires in the hollow portion for cleaner lines on the ceiling. This would mean, you could have whatever color you wanted. The estimate for that was a starting price of $2,000.

Enter, the insanity, and the idea I could have what I wanted with a little elbow grease. This is where we explore stripping the beams, it couldn't be easier, right? I applied the stripper, waited an hour, and pressure cleaned the surface. Oh and this meant I could buy myself cool rubber boots :)

It doesn't all come off, but this is better than the green. There was a bit of trial and error here, if the stripper was left too long, it would dry, and not come off. It would even be more difficult to get off even if you applied the stripper again.

Today, the last beam is finished. I'm keeping my fingers crossed that all that forced water doesn't warp the beams as they are drying. As a precaution, I have stacked the beams in the house, hoping the weight will keep them straight.
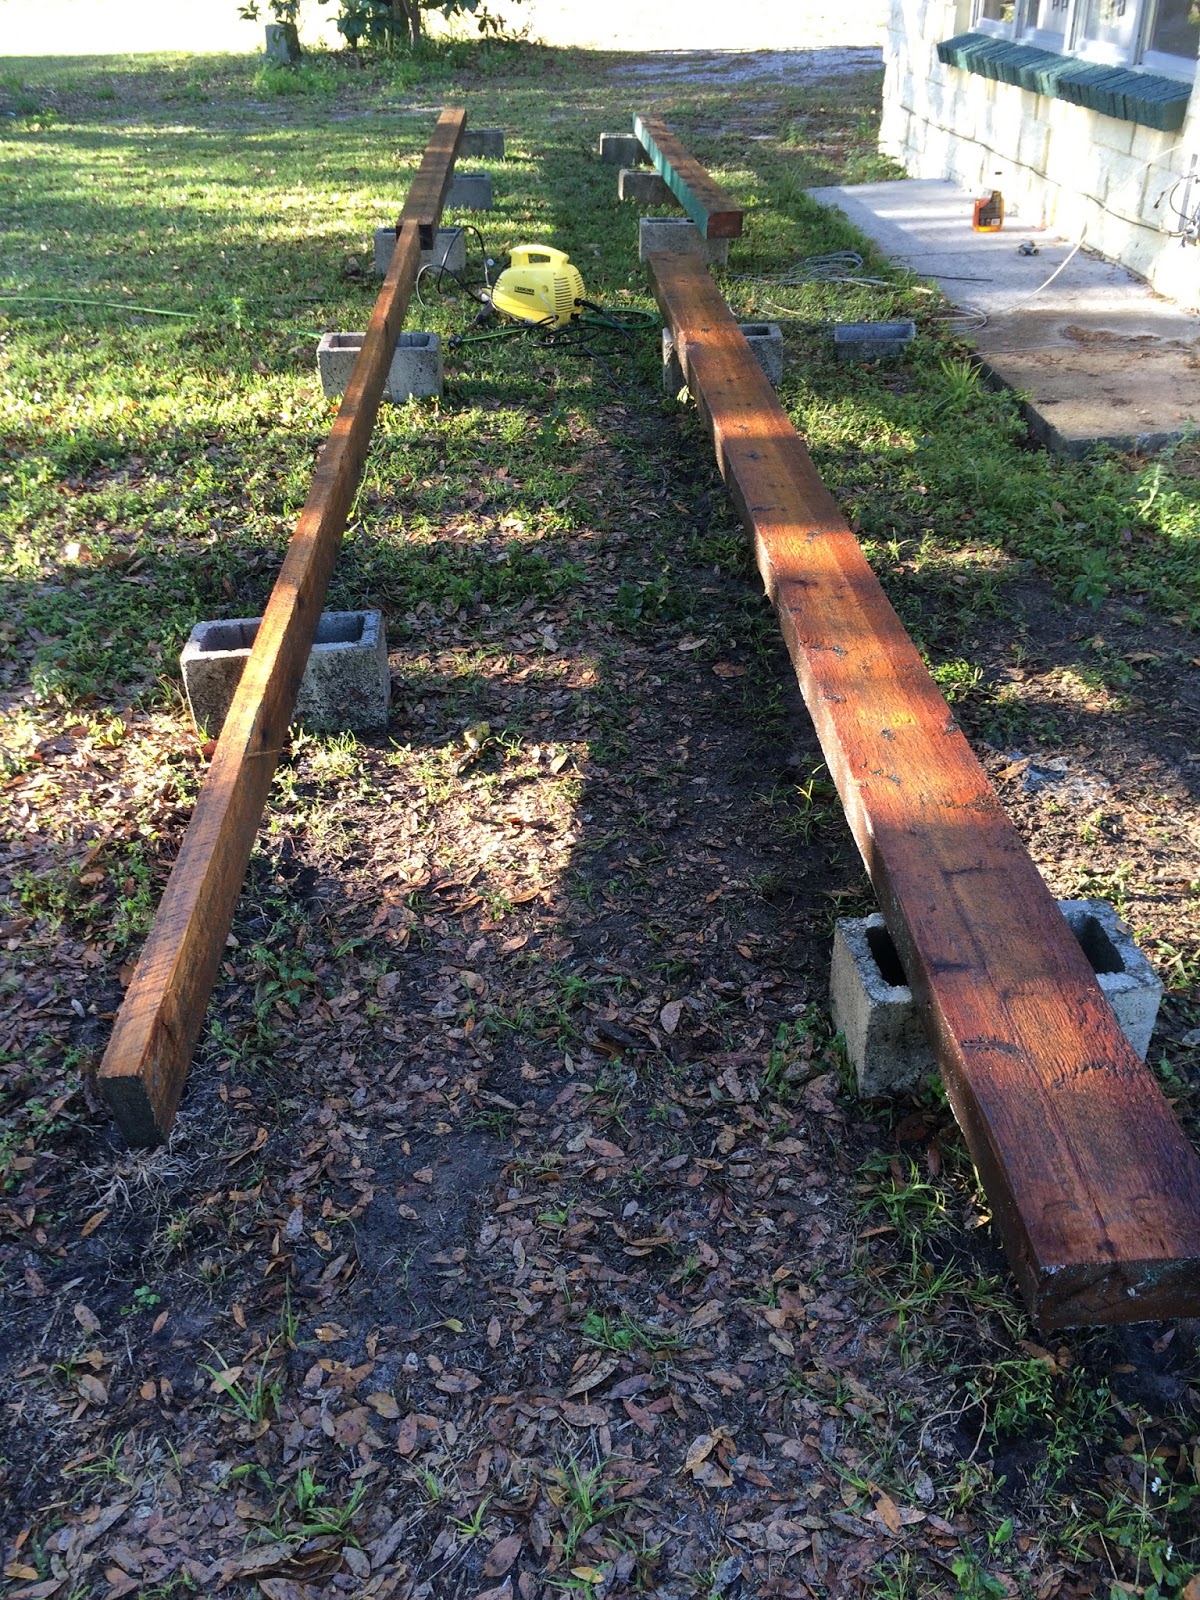
The pressure washer ripped up some of the grain on the beams, so either hand plane, or polish them with an orbital sander and sandpaper. The next step will involve some experimentation.
No comments:
Post a Comment